Deploy custom extensions
Overview
In the vast majority of situations, extensions are automatically managed by CAST Imaging, i.e. they are downloaded from either CAST Extend or Extend Local Server and then installed. However, it may be necessary to deploy a custom extension that is not available on CAST Extend. There are two ways to do so:
- Upload the extension in the Custom Extensions panel - no access to the file system of the CAST Imaging servers is required.
- Deploy the extension manually - the
.nupkgfile is copied into the shared extensions folder, which requires access to the file system.
Upload a custom extension in the Custom Extensions panel
The Custom Extensions panel manages the lifecycle of your custom extensions from the UI: you can upload an extension, validate it, and delete it when it is no longer required. Uploaded extensions are stored in the shared extensions folder used by all analysis-node components, so no access to the file system of the CAST Imaging servers is needed.
The panel is available to users with the Administrator role.
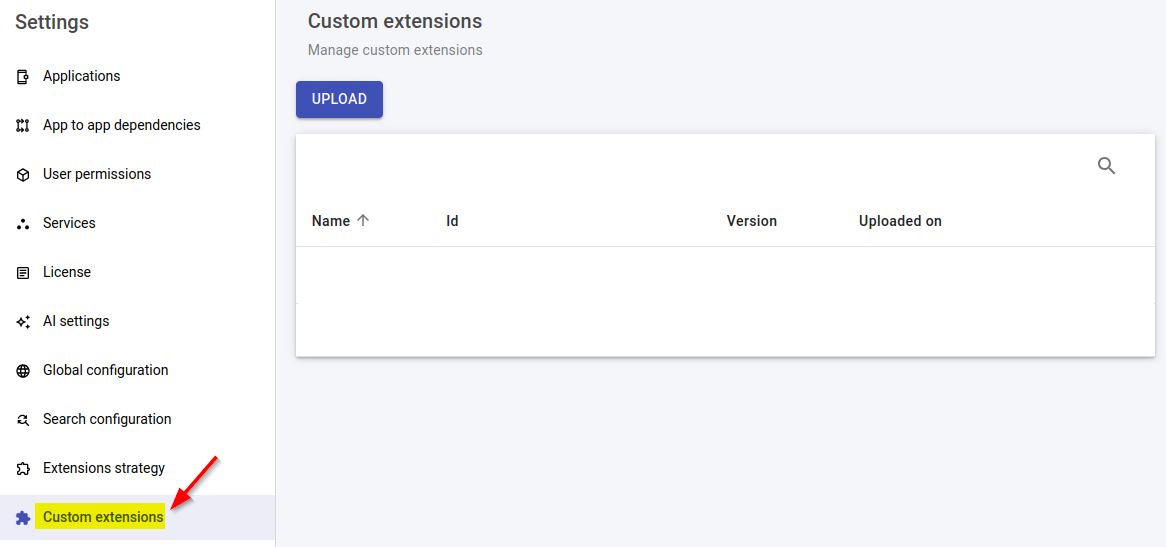
Open the Extensions section in the Admin center and select the Custom extensions tab. In releases before 3.6.8-funcrel the panel had its own Custom Extensions entry in the left panel, alongside a separate Extensions strategy entry which is now the Settings tab of the same section:
Step 1 - Obtain the custom extension
First obtain the custom extension in .nupkg format - if you receive a .zip or other archive file, ensure you unpack it to find the .nupkg within. Only files with the .nupkg extension can be uploaded.
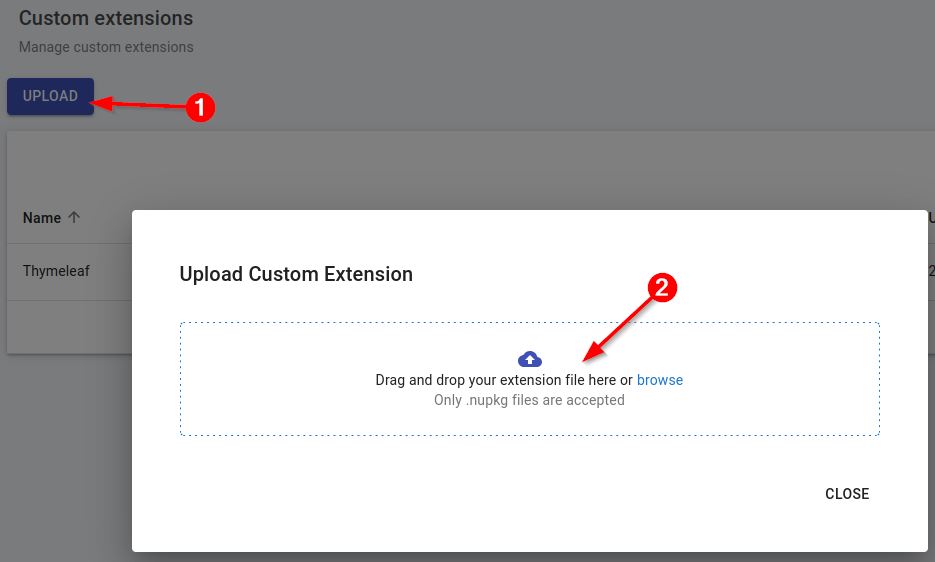
Step 2 - Upload the .nupkg file
Click Upload, select the .nupkg file and confirm. When the upload completes, the extension is listed in the panel with its id and version:
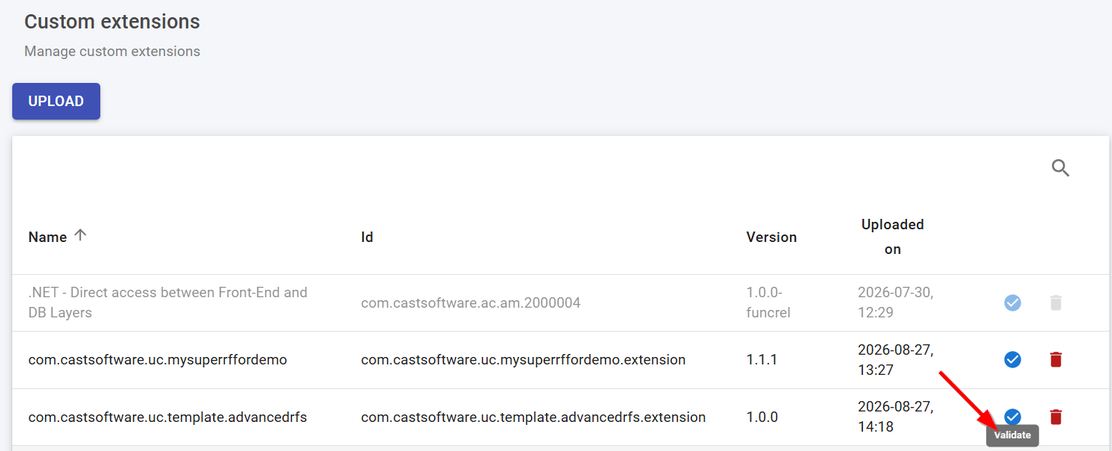
Step 3 - Validate the extension
Use the Validate action to check the extension before you use it in an analysis. The validation reports any problems found, for example a dependency on another extension that is not present:
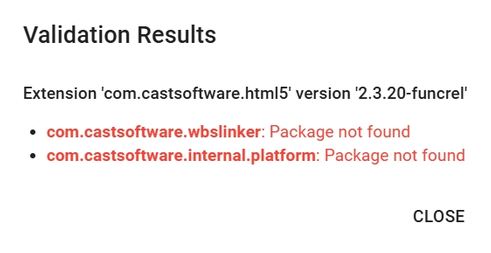
When the validation reports a missing dependency, upload the extension it depends on - or ensure that it is available from CAST Extend or Extend Local Server - then validate again.
Step 4 - Locate the extension in the UI
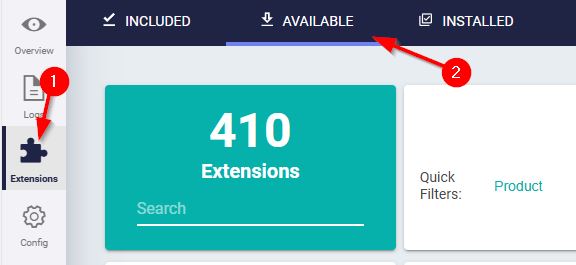
An uploaded extension is available immediately: no refresh or restart of the analysis-node components is required. Find it in the Extensions Strategy panel and in the Application analysis configuration - Extensions panel, and select it for installation in your application:
Delete a custom extension
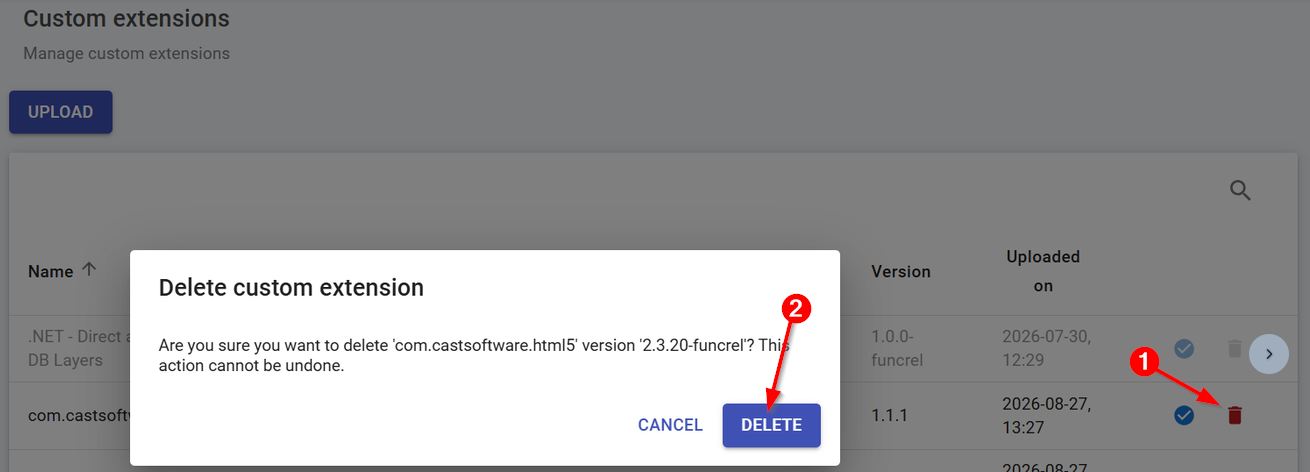
Use the Delete action to remove an uploaded extension. An extension can be deleted only when it is not used by any application - where the extension is in use, the action is not available and you must first remove the extension from each application that uses it.
Extensions managed in Architecture Studio
Extensions with an id beginning com.castsoftware.ac.am are listed in the panel but the actions are disabled: these extensions are generated and managed in Architecture Studio and must not be modified here.

Deploy a custom extension manually
The .nupkg file can also be placed directly in the shared extensions folder. This method requires access to the file system of the CAST Imaging servers.
Step 1 - Obtain the custom extension
First obtain the custom extension in .nupkg format - if you receive a .zip or other archive file, ensure you unpack it to find the .nupkg within.
Step 2 - Copy the .nupkg file
The .nupkg file must be placed in the following “shared” location so that it is available to all analysis-node components:
Microsoft Windows - defined by SHARED_FOLDER variable:

c:\cast-node\common-data\extensions

Docker/Podman- defined by INSTALL_DIR variable:

/opt/cast/shared/common-data/extensions

Kubernetes:

kubectl cp -n castimaging-v3  .\com.castsoftware.myextension.1.0.nupkg console-analysis-node-core-0:/opt/cast/shared/common-data/extensions/
The locations above are the default locations defined in the installation configuration files. Your installation may use a different location.
Step 3 - Ensure CAST Imaging is showing your custom extension
CAST Imaging will poll for new extensions every 2 hours, after which the extension will be visible in the Extensions Strategy admin panel and in the Application analysis configuration - Extensions panel.
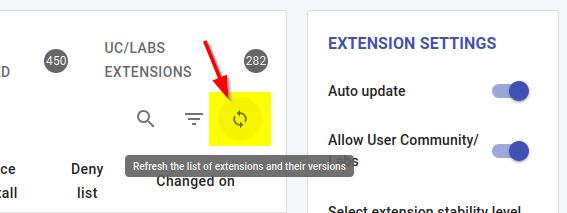
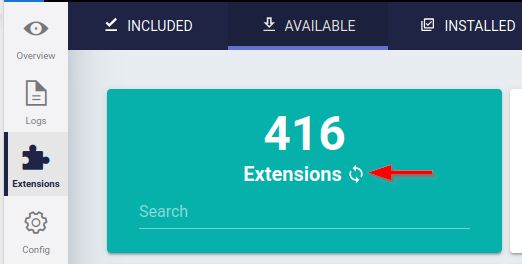
If you need to manage the extension immediately, you can use the Refresh button in either of the panels mentioned previously:
If you are still experiencing issues accessing the custom extension, you can restart all analysis-node components to force a refresh:
Microsoft Windows:

Restart the CAST Imaging Analysis Node Windows service on each machine where an analysis-node is installed.

Docker/Podman:

cd /opt/cast/install/imaging-node
sudo docker compose down
sudo docker compose up -d

Kubernetes:

Util-ScaleDownAll.bat|sh
Util-ScaleUpAll.bat|sh
Step 4 - Locate extension in UI
Use the Available Extensions panel to find and select the custom extension for installation and inclusion in your application: