Import an application view
Overview
This page explains how to bring application results into a viewer-only (standalone) CAST Imaging deployment. In this scenario, no analysis is performed locally - application results are generated on a separate CAST Imaging analysis instance and then imported into the read-only deployment for end-user access.
This is distinct from the automatic data flow that occurs in a full CAST Imaging installation.
These steps require the default Admin profile or a custom profile with the Administrator role. See User permissions.
Before you start
| Requirement | Detail |
|---|---|
| Deployment type | Viewer-only (standalone) installation - see Standalone deployment workflow |
| Role | Admin or Administrator |
| Application export | A .zip export of the application results from your analysis CAST Imaging instance |
How it works
Application results are transferred between CAST Imaging instances as .zip exports:
- You export application results from your analysis CAST Imaging instance.
- You import the
.zipinto the viewer-only instance via the Import an application view option. - The application appears on the landing page and is available to end-users.
- When new analysis results are available, you repeat the export and import to refresh the data.
CAST recommends exporting directly from Neo4j rather than from application schemas, as this preserves customisations such as Post-Its and Tags. See Exporting and importing applications.
Import an application
- Open the CAST Imaging landing page and click Add an application.
- Select Import an application view.

- Choose the
.zipfile containing the application results and optionally define a domain
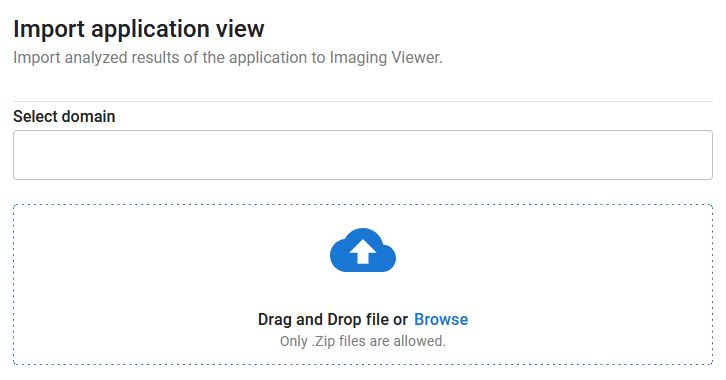
- Wait for the import to complete. The application then appears on the landing page.
Refresh with updated results
When a new analysis has been completed on the analysis instance, repeat the import to provide end-users with updated results:
- Obtain a new export from the analysis instance as described above.
- Import the
.zipfile using the same Import an application view option.
Next steps
- Standalone viewer workflow - full step-by-step guide including data source configuration and licence key setup
- Exporting and importing applications